Locations
Labelling locations in a small warehouse
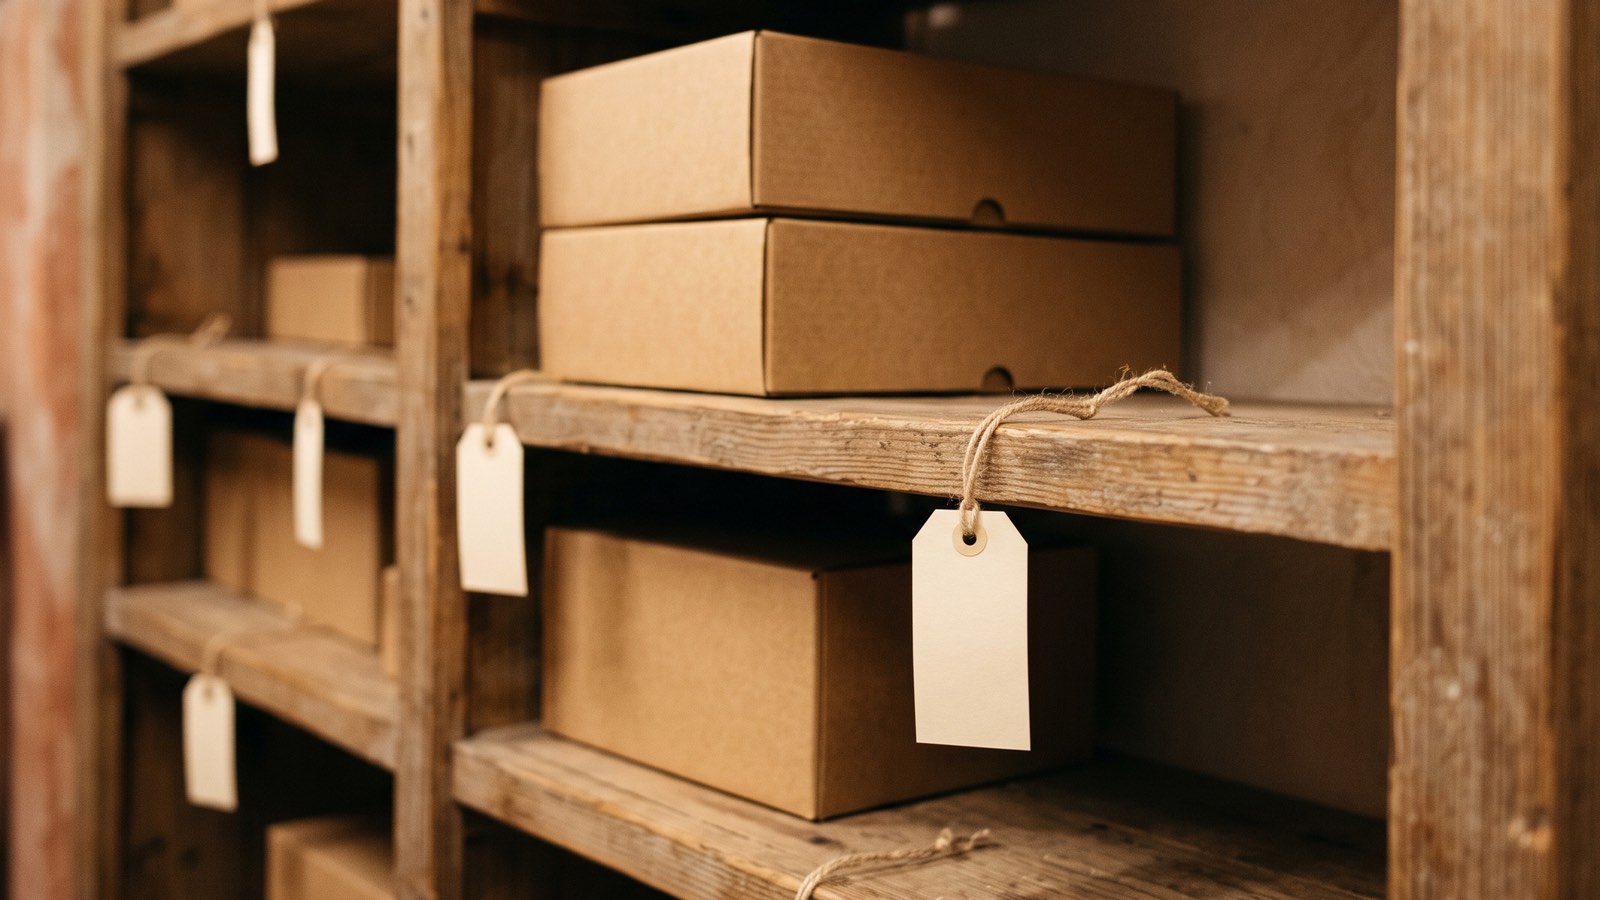
Name each warehouse location with a short code that runs from large to small: aisle, bay, level, position, such as A-03-02, and print the labels from the same list that holds your location records. Without codes, a lot of stock lives in someone's head. "The blue bins by the back door" works until that person is on holiday, or a new hire starts, or you have two blue bins.
Location labels move that knowledge from people to the building. It is cheap, it is quiet, and it is the best preparation for any spreadsheet or system you use later. This page shows how to name locations, what to put on a label, and how to roll it out without stopping work.
Why labels beat memory
Memory fails in predictable ways:
- The one person who knows leaves, or is out sick.
- Two similar items are stored near each other and get swapped.
- Goods get put wherever there is a gap, then nobody can find them.
- Counting is slow because you have to hunt for what to count.
A label says exactly where a thing belongs. Once every spot has a name, you can record that name next to each item, and finding stock becomes reading, not remembering.
Pick a naming scheme and keep it boring
A good location code is short, readable at a glance, and sorts in the order you walk. The usual structure goes from large to small:
Aisle, bay, level, position.
- Aisle: a row of racking or a run of shelves. Letter or number.
- Bay: a vertical section along the aisle, counted from one end.
- Level: the height, counted from the floor up.
- Position: the slot or bin on that level, when a level holds several.
Written together, with the same number of characters every time, you get codes like:
A-03-02for aisle A, bay 3, level 2.A-03-02-Bwhen the level is divided into slots.B-11-01for the second aisle, bay 11, floor level.
Use the same pattern everywhere. Pad numbers with a leading zero so that bay 3 and bay 12 sort properly.
Rules that save trouble later
- Decide which end is bay 01 and stay consistent. Most people start from the end nearest the dock.
- Use numbers for things that count up, letters for things that name. Mixing them everywhere is how people misread.
- Avoid letters that look alike: O and 0, I and 1. If you need a rule, drop the confusable letters.
- Do not put item names into the code. Items move; locations should not.
- Do not reuse a code for a different place, even after you remove a rack.
Name the odd places too
Aisle codes cover the racking. You also have places that are not racking, and they need names just as much:
- RECV for the receiving area.
- STAGE for goods waiting to ship.
- RETURN for items back from customers.
- HOLD for anything damaged, disputed or waiting for a decision.
- FLOOR-1, FLOOR-2 for bulk stock stored on the ground.
If a parcel can sit somewhere for more than an hour, it needs a code. Everything else is a place where things go to be lost.
What goes on a label
Keep it simple enough to read from a few steps away.
- The code, large. Bold, high contrast, big enough for a picker walking past.
- A barcode of the same code, if you plan to scan. Not necessary on day one, and easy to add later if your code is clean.
- Optional: a short hint such as "Level 2 left" if the level is not obvious.
Skip anything else. A label crowded with extra detail is read less, not more.
Labels and materials
The best material is the one that stays put and stays readable in your conditions.
- Shelves and racking: adhesive labels in a protective sleeve, or magnetic strips on steel.
- Floor locations: painted or taped boxes with the code on a floor sign or hanging marker.
- Bins: a label on the front lip, where hands and eyes land.
- Dusty, cold or damp areas: test a small batch first. A label that curls in a month is worse than none.
Whatever you pick, print from the same sheet that holds your location list, not by hand. Handwriting is the first thing to be misread.
Update the sheet while you label
Labelling is the best time to fix your records. Do it in this order:
- Draw the layout. A rough floor sketch with aisles and bay numbers is enough.
- Build the Locations list. One row per code, with a zone and a type.
- Label a single aisle. Do not start everywhere at once.
- Walk the aisle with the sheet. For each location, write which items are really there.
- Fix surprises on the spot. Wrong item, mixed items, empty spots. Note them as you go.
- Repeat aisle by aisle.
By the end you have a clean list of codes and a real picture of where stock sits. Most owners learn something they did not expect.
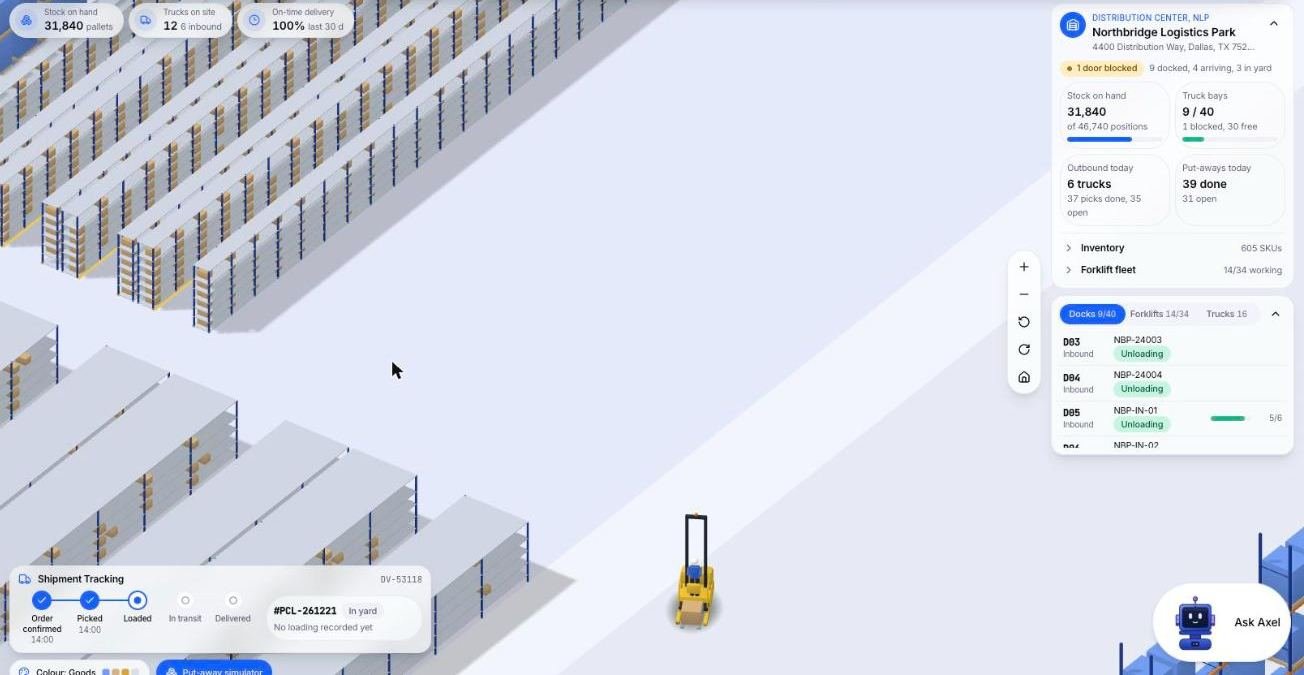
Once every spot has a code, a location-based system can show you rows like these, which is what a sheet only describes in words. The next image is a screen from the Microsive demo platform, with demo data.
An example (hypothetical)
A small hardware wholesaler has two rows of shelving and a pallet corner. Everyone knows where the screws are, but three staff disagree about where the spare brackets live. They start with the aisles: A and B, four bays each, three levels. The pallet corner becomes FLOOR-1 to FLOOR-4. Returns and damaged goods get RETURN and HOLD.
They label one aisle on a quiet afternoon, walk it with a clipboard, and discover brackets in three places. Two days later the brackets share one spot, with a rule written on the label sleeve. The change cost labels and a little time, and it ended an argument.
The business is invented, but the sequence is typical: label a little, learn a lot.
Keep it alive
A scheme decays if nobody owns it.
- Choose one person to approve new codes.
- When you add racking, add the codes before you add stock.
- Replace damaged labels the same week.
- Check one aisle's labels during your regular counts.
Next step
Draw the layout and write the first ten codes today. If they read clearly to a person who has never seen the building, you have a scheme you can grow.
Questions people ask
What should warehouse location labels be made of?
Whatever stays put and readable in your conditions: adhesive labels in a protective sleeve or magnetic strips on shelves and racking, painted or taped boxes with a floor sign for floor locations, and a label on the front lip of bins. Test a small batch first in dusty, cold or damp areas.
How should I name warehouse locations?
Go from large to small: aisle, bay, level, position. Keep the same number of characters every time and pad numbers with a leading zero, so codes like A-03-02 sort in walking order.
Should item names go in a location code?
No. Items move, and locations should not. Also never reuse a code for a different place, even after you remove a rack.
What belongs on a location label?
The code in large, high contrast type, and a barcode of the same code if you plan to scan. A short hint such as Level 2 left is optional. Extra detail makes labels read less.
Do receiving areas and returns need location codes?
Yes. Any place a parcel can sit for more than an hour needs a code, such as RECV, STAGE, RETURN and HOLD. Otherwise it is where goods get lost.
How do I roll out labels without stopping work?
Draw the layout, build the Locations list, label a single aisle, walk it with the sheet to record what is really there, fix surprises on the spot, then repeat aisle by aisle.
Sources
- No third-party facts, prices or vendor claims are used on this page. Naming examples and the warehouse scenario are hypothetical.